A cosy, heartwarming Chicken Pot Pie that I enjoy year-round. So easy to throw together with a light and fluffy biscuit layer and thick and delicious filling. A complete meal and so satisfying, no side dishes required.
Ingredients
6 tablespoons butter
1 onion, finely chopped
Salt and pepper
5 tablespoons plain flour
1 sprig fresh thyme, leaves removed
1 sprig rosemary, leaves removed
3 c chicken stock
2 chicken breasts
1 c milk
1 large potato, diced and blanched
1 c frozen peas, defrosted
4 sheets puff pastry
1 Egg, beaten
How to make Chicken Pot Pie Biscuits
Step 1: Prepare the oven. Preheat it to 375 degrees.
Step 2: Melt butter in a frying pan over medium heat.
Step 3: Once the butter has melted, add the onion and cook for about 10 minutes.
Step 4: Stir in the salt, pepper, flour, and herbs and continue cooking for 3 to 4 minutes.
Step 5: Add the chicken stock to the pan and bring the mixture to a boil.
Step 6: Adjust the heat to low before adding in the chicken. Simmer for about 15 minutes until the stew has slightly thickened, and the chicken has cooked through.
Step 7: Take the chicken out of the pan before adding in the milk. Remain cooking for 4 minutes more. Then, remove the pan from the heat. Divide the sauce in half.
Step 8: Shred the chicken.
Step 9: Add the potatoes, peas, and shredded chicken to one-half of the sauce. If desired, season with extra salt and pepper, then place in the fridge. Reserve the other half of the sauce until ready to use.
Step 10: From a sheet of puff pastry, trim 2-inches circles. Add a spoonful of the stew on top and cover with the other circle. Using a fork, press the edges together to seal. Do this for the rest of the pastry and filling.
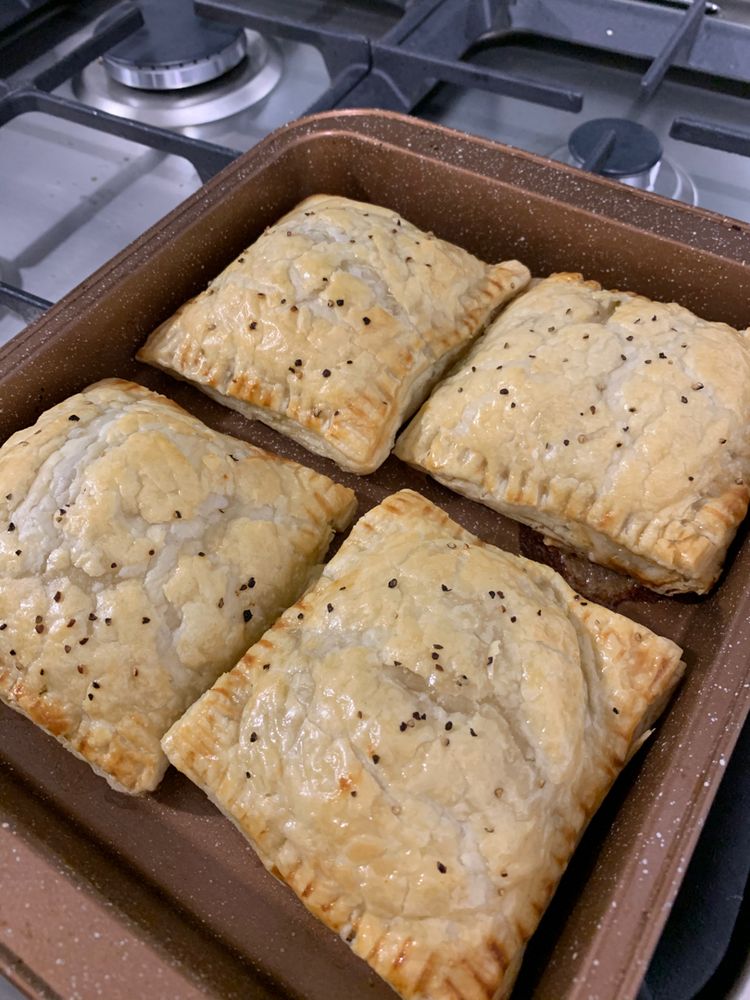
Step 11: With egg wash, brush the pastry pie and sprinkle with black pepper and salt.
Step 12: Bake in the preheated oven for about 20 to 25 minutes or until the pastry pie is puffed up and golden.
Step 13: Remove from the oven and serve quickly with sauteed greens and the rest of the gravy. Enjoy!

