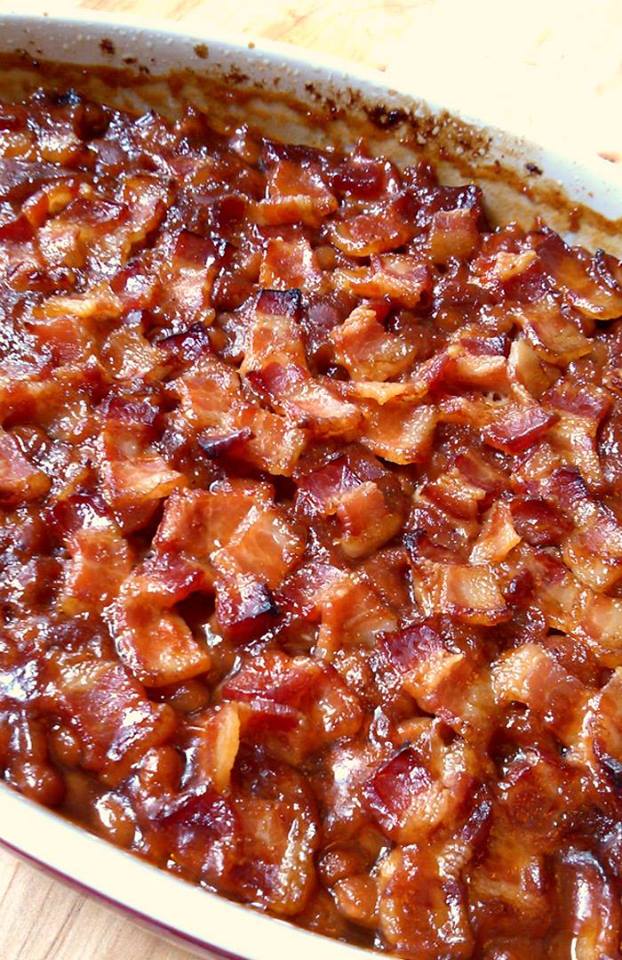
Baked beans are such classic summer cookout/bbq food… and really easy to make yourself! Don’t reach for a can of pre-seasoned and full of preservatives beans… whip up these easy and lip-smackingly delicious brown sugar and bacon baked beans instead! Your mouth will thank you.
This shop has been compensated by Collective Bias, Inc. and its advertiser. All opinions are mine alone.
Baked beans are such a classic dish, and I love how many varieties there are! Depending on your tastes and where you live, your beans might be more savory, more sweet, or more smoky. These beans are a great combination of the 3! You get the savory flavor from the sauteed onions and peppers, sweetness from the brown sugar, and the smokiness from the molasses and of course, the bacon 🙂
You can cook your bacon any way you’d like, you’re going to want to use about 10 strips. I chose to bake mine since I have zero patience with frying bacon lol. I also seasoned my bacon with a sprinkle of pepper, chili powder, dried rosemary and brown sugar. That’s my signature bacon seasoning, it’s SO addicting!
Ingredients
10 slices bacon halved
1 yellow onion finely diced
1/2 green bell pepper finely diced
54 oz can pork and beans or equivalent number of smaller cans
4 Tbsp ketchup
1/4 cup molasses
2/3 cup brown sugar
1/4 cup cider vinegar
2 tsp dry mustard
Instructions
Cook bacon about half way through (in whichever way you want), and set aside to drain on a paper towel.
Preheat oven to 325 degrees and set rack to the lower-middle rack position.
In a deep skillet, heat about 2 Tbsp of bacon grease (or butter) over MED heat. Add diced onion and green pepper and saute about 5 minutes, until softened.
Add remaining ingredients and stir to combine well. Let mixture simmer for a minute or so.
While the mixture is simmering, grease a 13×9 baking dish.
Pour beans into the prepared baking dish and lay cooked bacon on top of the beans.
Bake for 2-3 hours, depending on your desired consistency.
Let the beans stand for 5 minutes before serving.
Source : allrecipes.com


