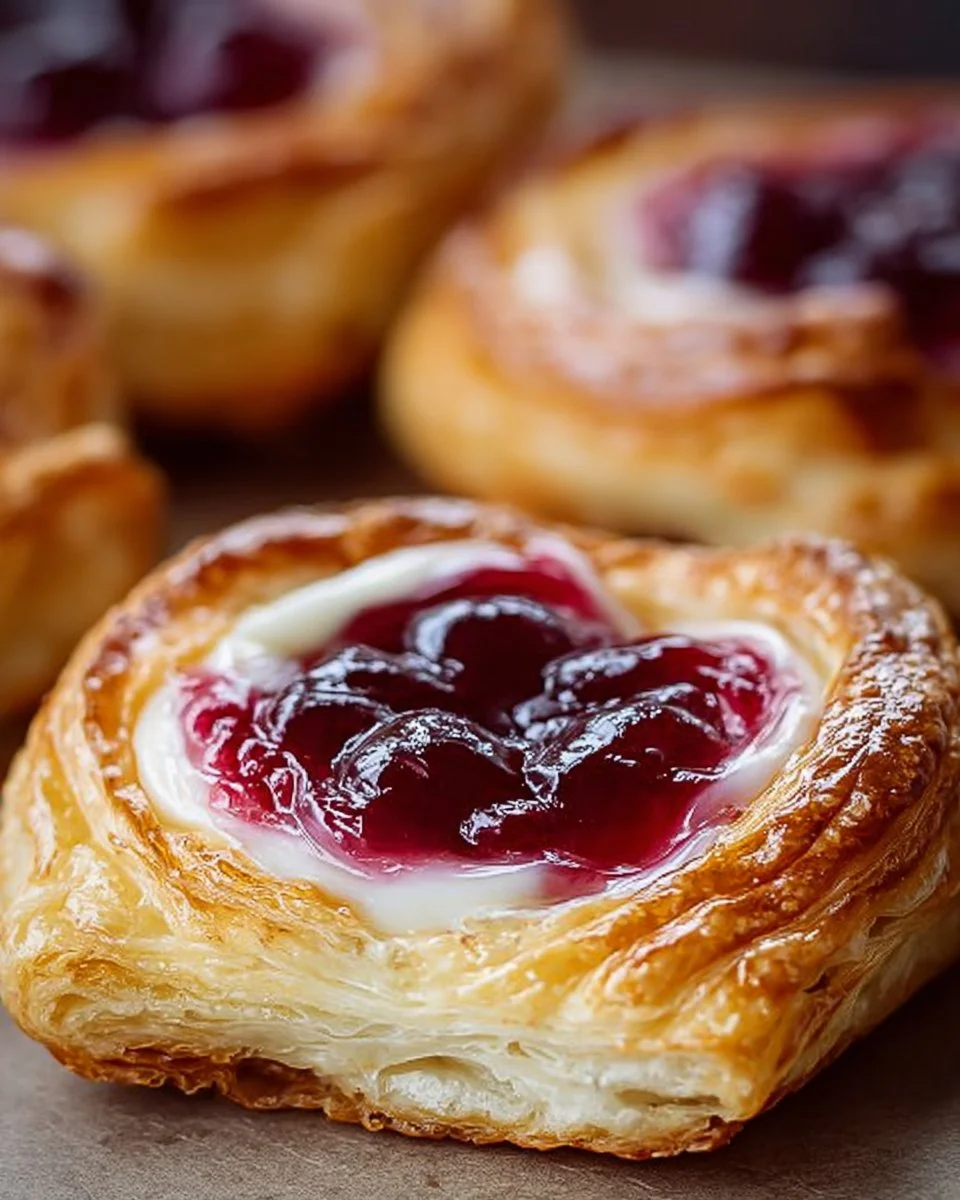
The First Bite of Cherry Cream Cheese Danish: A Morning to Remember
You know those mornings where the air smells just a little sweeter, and you’re craving something that feels like a warm hug in pastry form? That’s the exact feeling I get every time I bake a batch of cherry cream cheese danish. The memory comes back so vividly—standing at my grandmother’s side, eagerly watching her work magic with flaky layers of puff pastry, cream cheese, and glossy cherry filling. The kitchen would fill with the scent of vanilla and baked cherries—a sensory tapestry I instantly associate with comfort and joy.
So if you’ve been searching for the perfect “cherry cream cheese danish” recipe that’s easy yet feels bakery-worthy, you’re in exactly the right place. Let’s dive into morning joy—one buttery, tangy, cherry-filled danish at a time.
Why You’ll Adore This Cherry Cream Cheese Danish
Let me tell you, there’s something completely enchanting about homemade danish pastries. Here’s why these cherry cream cheese danishes are bound to become your new obsession:
- Bakery-Style at Home: You only need a handful of accessible ingredients to create a classic Danish pastry right in your own oven—no special equipment or Master Chef skills required!
- The Best of Both Worlds: That creamy, slightly tangy cream cheese filling paired with sweet-tart cherries tucked inside flaky, golden puff pastry is a true match made in heaven.
- Perfect for Any Occasion: Whether it’s a lazy Sunday, Mother’s Day brunch, or a midday treat (with a cup of coffee, naturally!), these easy danishes steal the show without fuss.
- Joyfully Shareable: I love how these pastries bring people together. Share a plate with friends or family, and watch smiles appear—trust me, they won’t last long on the table!
Ingredients You’ll Need for Cherry Cream Cheese Danish
Gathering ingredients for this easy cherry cream cheese danish couldn’t be simpler, and each item has a delicious purpose:
- 1 package (8 oz) cream cheese, softened: Make sure the cream cheese is at room temperature for effortlessly smooth filling.
- 1/3 cup granulated sugar: Just enough sweetness to balance the creamy base.
- 1 teaspoon vanilla extract: Adds warmth and a touch of bakery magic to the filling.
- 1 can (21 oz) cherry pie filling: I love the convenience of canned cherry pie filling, but if cherries are in season? Homemade cherry compote would be heavenly for your danish recipe!
- 1 package (2 sheets) puff pastry, thawed: Store-bought puff pastry is a true lifesaver here. Make sure it’s properly thawed for easy rolling and folding.
- 1 egg, beaten (for egg wash): This gives your baked danishes that irresistible golden shine.
Pro tip: If you want rich, buttery pastry, go for all-butter puff pastry (it makes a difference for homemade danishes).
Step-by-Step Guide: Making the Perfect Cherry Cream Cheese Danish
No need to stress—making authentic-tasting cherry cream cheese danish is a breeze if you follow these steps!
- Prep Your Oven: Preheat the oven to 375°F (190°C). Grab a baking sheet and line it with parchment paper.
- Blend the Filling: In a medium bowl, beat the softened cream cheese with granulated sugar and vanilla extract until gorgeously smooth and creamy. I find using a hand mixer here makes light work of it!
- Shape the Puff Pastry: On a lightly floured surface, gently roll out the thawed pastry sheets. Cut each sheet into even squares (about 4 inches each side), aiming for 8 pieces total.
- Assemble the Danishes: Spoon a generous dollop of cream cheese filling into the center of each pastry square. Top with a spoonful of cherry pie filling (just enough to tempt but not overflow).
- Fold and Seal: Bring the corners of each square toward the center to make a diamond shape. Press gently to seal—imperfections only add to their charm!
- Egg Wash: Brush the tops with beaten egg for a beautiful golden finish. This is what makes those homemade danishes truly Instagram-worthy.
- Bake: Place on your prepared baking sheet and bake for 15-20 minutes. They’ll puff up and turn golden brown with bubbling cherry topping—your kitchen will smell heavenly!
- Cool (If You Can Wait): Let the danishes cool slightly before diving in.
Personal confession: I always sneak one while it’s still a little warm; it’s impossible to resist that melty cream cheese and glossy cherry filling!
My Secret Tips and Tricks for Cherry Cream Cheese Danish Success
After making more danishes than I can count, I’ve gathered some practical (and hard-won) tips for bakery-level cherry cream cheese danish at home:
- Don’t Rush the Dough: Work with puff pastry when it’s thawed but still cool, so it stays beautifully flaky after baking. (If your kitchen runs warm, pop the assembled danishes in the fridge for a few minutes before baking.)
- Less Is More: Don’t overload with filling—tempting as it is! Otherwise, they’ll ooze and lose shape.
- Quality Matters: Real vanilla extract and high-quality cherry pie filling (or, better yet, homemade cherry compote) can truly elevate your easy danish.
- Let Them Cool: Even though they smell amazing hot from the oven, let your homemade pastries rest for best texture and flavor.
Creative Variations and Ingredient Swaps
Want to customize your easy cherry cream cheese danish? I’m all about making recipes your own:
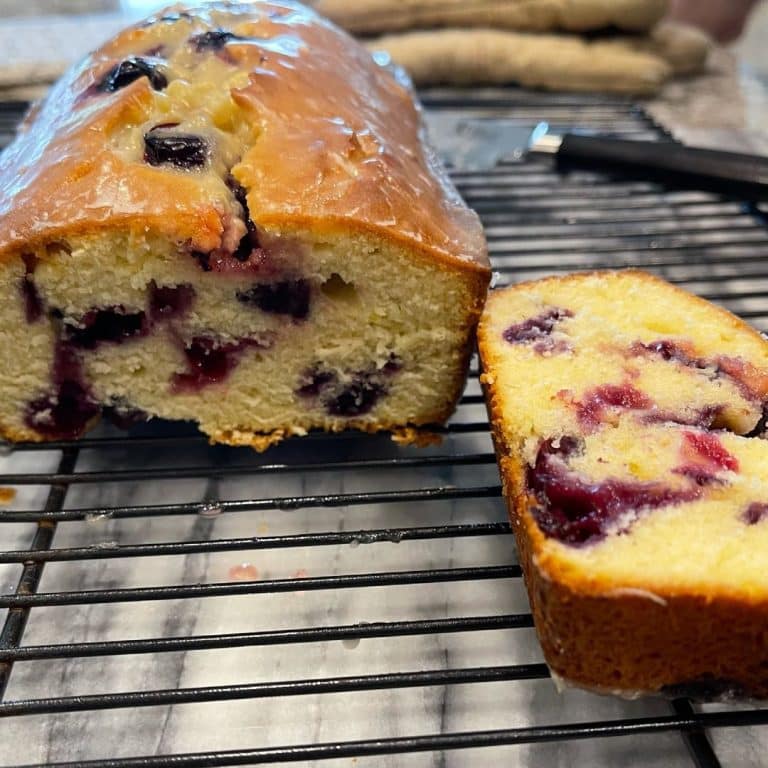
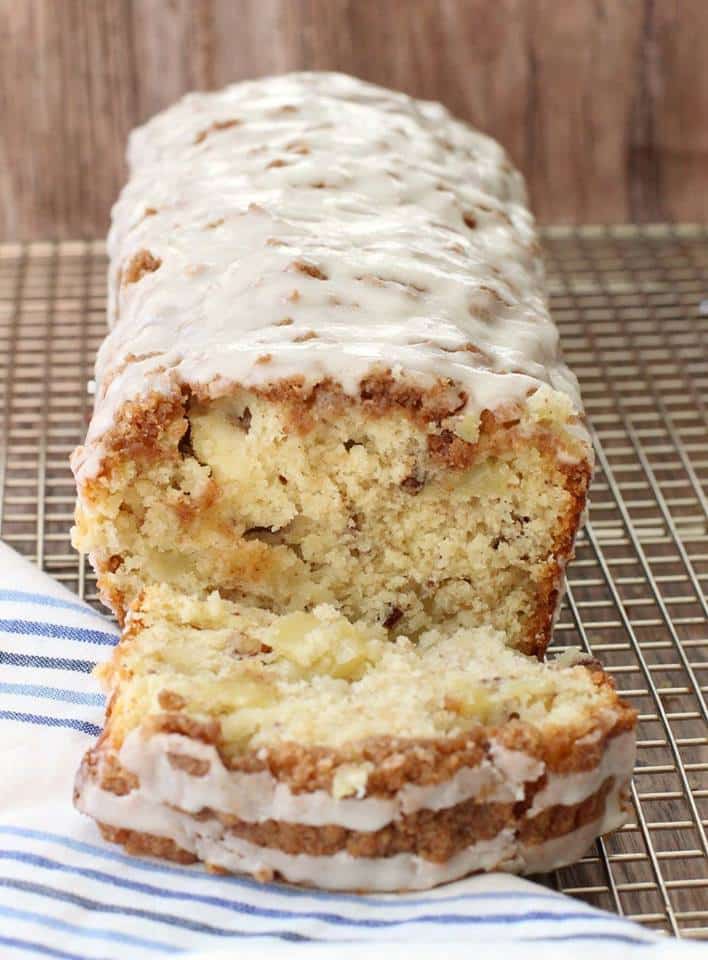
- Fruit Swaps: Try blueberry or apple pie filling for new flavors.
- Make It Nutty: Sprinkle sliced almonds over the egg-washed tops before baking.
- Go Citrus: Add lemon or orange zest into your cream cheese filling for a punch of freshness (a little lemon zest with cherry is pure magic!).
- Gluten-Free Option: Use gluten-free puff pastry (available in many stores) to keep these gluten-free.
- Low Sugar: Opt for light pie filling or lower the sugar in the filling if needed.
Homemade danishes are super versatile—just follow your cravings!
How to Serve and Store Your Cherry Cream Cheese Danish
These dreamy pastries are best enjoyed fresh and slightly warm—maybe with an extra dusting of powdered sugar or a drizzle of icing. I love serving cherry cream cheese danish with coffee, tea, or even a scoop of vanilla ice cream for a fancy twist.
Storing leftovers:
- Keep cooled danishes in an airtight container in the refrigerator for up to 3 days.
- For that fresh-baked flakiness, reheat in a toaster oven or regular oven for a few minutes (don’t microwave—they’ll get soggy!).
- Freezing tip: Danish pastries freeze surprisingly well. Wrap individually and thaw overnight in the fridge, then warm as above.
FAQs: Your Top Questions About Cherry Cream Cheese Danish Answered
Q: Can I use homemade cherry filling?
Absolutely! Fresh cherry jam or quick compote will make your danishes taste even more special.
Q: Do I have to use puff pastry for these danishes?
Puff pastry makes them super easy, but you can use homemade danish dough or crescent roll dough for a softer, more traditional breakfast pastry.
Q: Can these danishes be made ahead?
Yes! Assemble the pastries and refrigerate (covered) overnight. In the morning, just egg wash and bake—easy brunch win!
Q: How do I keep my cream cheese filling from leaking?
Don’t overfill, and seal each corner well. If you’re worried, chill the filled pastries before baking to help everything stay put in the oven.
Q: Can I make these danishes in mini size?
Totally! Cut the puff pastry into smaller squares for cute, bite-sized treats. Perfect for brunch spreads or dessert platters.
There’s true joy in pulling a tray of golden, cherry-studded, cream cheese danishes from the oven and sharing them with people you love. If you try this cherry cream cheese danish recipe, let me know how it turns out—or share your own twists! Here’s to mornings made magical (with just a little help from your oven).